If you’ve just finished setting up your first Proxmox machine, chances are there isn’t anything much on your server yet. First thing I’d recommend doing is to setup a NAS management system like TrueNAS VM on Proxmox before doing anything else.
Once you’re done with that, installing Debian or Ubuntu is the next logical step. This will come in handy for many purposes such as installing Docker services, deploying a website, or just a simple Linux sandbox that you can access anywhere on your network.
Without further ado, let’s get dirty!
Debian VM Installation
Preparation
Download the ISO installation from the Official Debian downloading page.
Locate the "stable release" amd64 verison if you’re on desktop computer. The file name should be something like debian-[VERSION]-amd64-netinst.iso.
When you’re done downloading, go to Proxmox web portal > local pool > ISO images > upload. Then in the upload popup window, upload the downloaded Debian ISO image to Proxmox.

When the image finishes uploading, go ahead and close the upload window.
Create Debian Virtual Machine
Go ahead and create a new virtual machine in Proxmox by clicking on the Create VM button. After that, follow these settings:
- General: Start at boot: yes
- OS: Select the downloaded Debian image
- System: leave on defaults
- System disk: 80GB (for Docker container installs later on)
- CPU: 4 cores (or depends on your system)
- Memory: 8192MB
- Everything else on default should be fine.

Final installation page
Click on finish and spin up the machine.
First-time Setup
Here, you don’t have to follow all of my steps exactly if you know what you’re doing.
Now spin up the machine and start setting it up:
- Select graphical or normal install (I will choose normal install)
- Select your country, language, etc. and wait for configuration
- Hostname: debian.local or anything you want
- Domain name: press enter
- Select a root password for your root user.
- Set up users and passwords: choose your full name, username and password

- Partition disks: select guided – use entire disk since… all it’s got is the virtual disk lol.
- Continue pressing enter till aaaallll the way here:

Select “yes”. Wait for a moment until the package manager window pop up, select “No”. Then continue pressing enter aaallll the way again.
On the survey window, select yes or no.
Then you’ll see this screen.

Use space key to select/deselect options. Deselect all the desktop environments since we will be using this VM for SSH and Docker purposes only. Select SSH Server and standard system utilities like in the picture. Then press Enter.
Now wait for it to do its magic… fooor 2 seconds and another pop up appears…

Press “yes” and select the /dev/sda option. Wait for a bit. When the installation screen appears, stop for a moment.
In Proxmox, go to Hardware tab, select CD/DVD Drive (ide2) and press Remove. Now go back to the Console and press continue. That should be it for the first time setup!
Booting up
Wait for the system to boot up, go to console and you’ll see this:
 Here, log in with your root account first with:
- username: root
- password: [your root password]
IP Address
Now, as this machine will run 24/7 as a Debian server, we don’t want its IP address to be changing unexpectedly due to DHCP. What we’d want to do is:
- Go to your Router homepage (every router is different but you can find out on a Windows machine by typing in
ipconfigin command prompt and the default gateway should be your router’s IP address). - Nagivage to your DHCP/Network address management aka your router.
- Find the Debian machine’s IP address. If you don’t know what it is, type in
ip addrin the Debian VM.
- Once you find out your Debian machine’ IP address, add it to the static table or change it to your liking.
That’s it for the IP address!
Configure Debian VM
Now the most important first step is, you guessed it, update! Run the following command:
|
|
Since Debian is very lighweight and barebone, even sudo command isn’t included in the installation. To install sudo and set up user account, run the following command:
|
|
What the usermod do is adding the danslab user to the group sudo so that the user danslab can run sudo commands when they’re logged in.
Now you can log out and log back in as danslab (or whatever name you created) by running exit.
Check with:
|
|
Now, restart the machine.
Adding SMB Share
If you followed my previous guide on how to install TrueNAS, you should have a SMB network storage working by now. If not, I highly recommend doing so using my guide or any other TrueNAS tutorials. Or if you already have an SMB share, that would work too. However, this guide specifically will follow upon my previous TrueNAS guide information such as user ID, sharing paths, etc.
First off, run the following commands:
|
|
Run sudo nano /etc/fstab to edit the fstab and add the following line at the end of file:
|
|
The first path points to the TrueNAS sharing path, second is mounting point in Debian, UID and GID is the user created in TrueNAS which is 1000 in my case.
Press Ctrl + X > Y > Enter.
Now we’re adding the credential file by running the following command:
|
|
Then add the following lines for your username and password:
|
|
- Now press Ctrl + X > Y > Enter.
- Restart the machine.
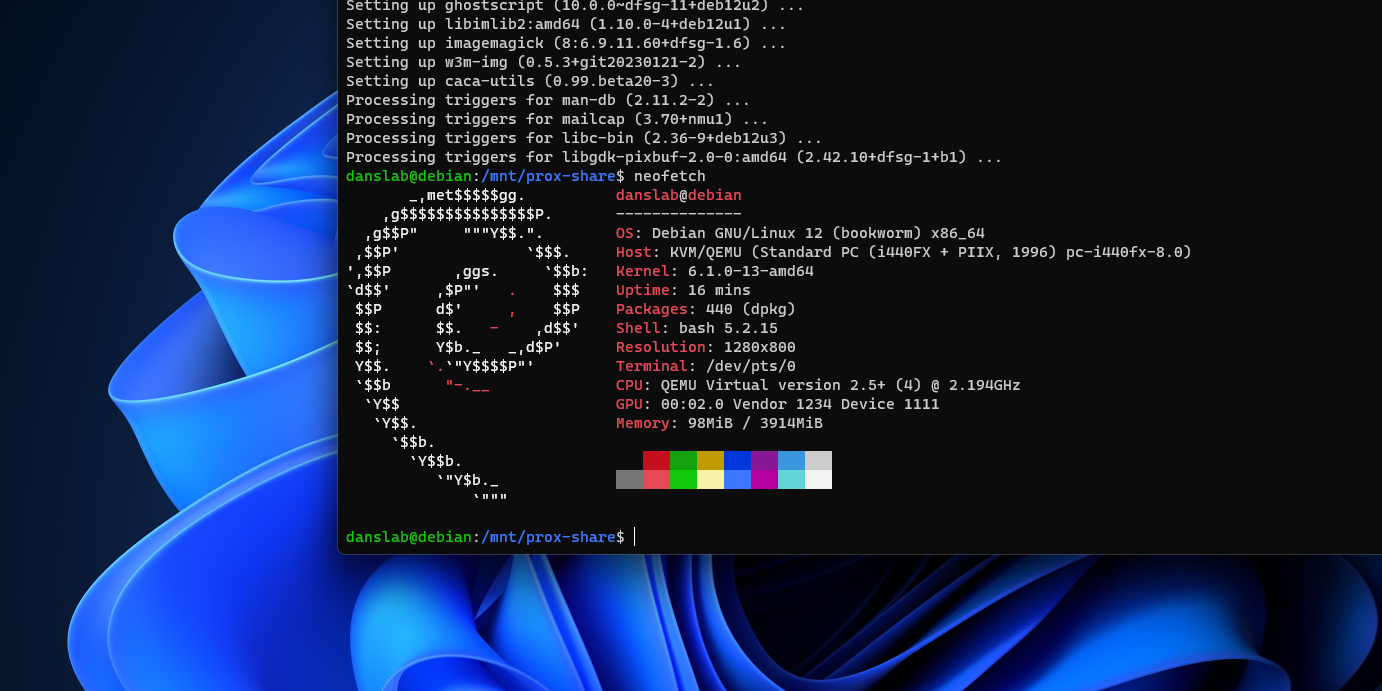
- Verify by going to /mnt/prox-share and ls.
- Your files should be available now. Congrats!

Conclusion
We’ve went through the steps for creating a Debian VM on Proxmox, configuring and mounting SMB share for it. With all of this done, you can now begin installing Docker and create Docker containers to utilize the storage sharing feature such as Jellyfin – the self-hosted media server, Vaultwarden – your private password manager, and more!
If this helped you in anyway, check out my blog site for more useful guides.
Thank you for reading! Hope this has been useful and take care.