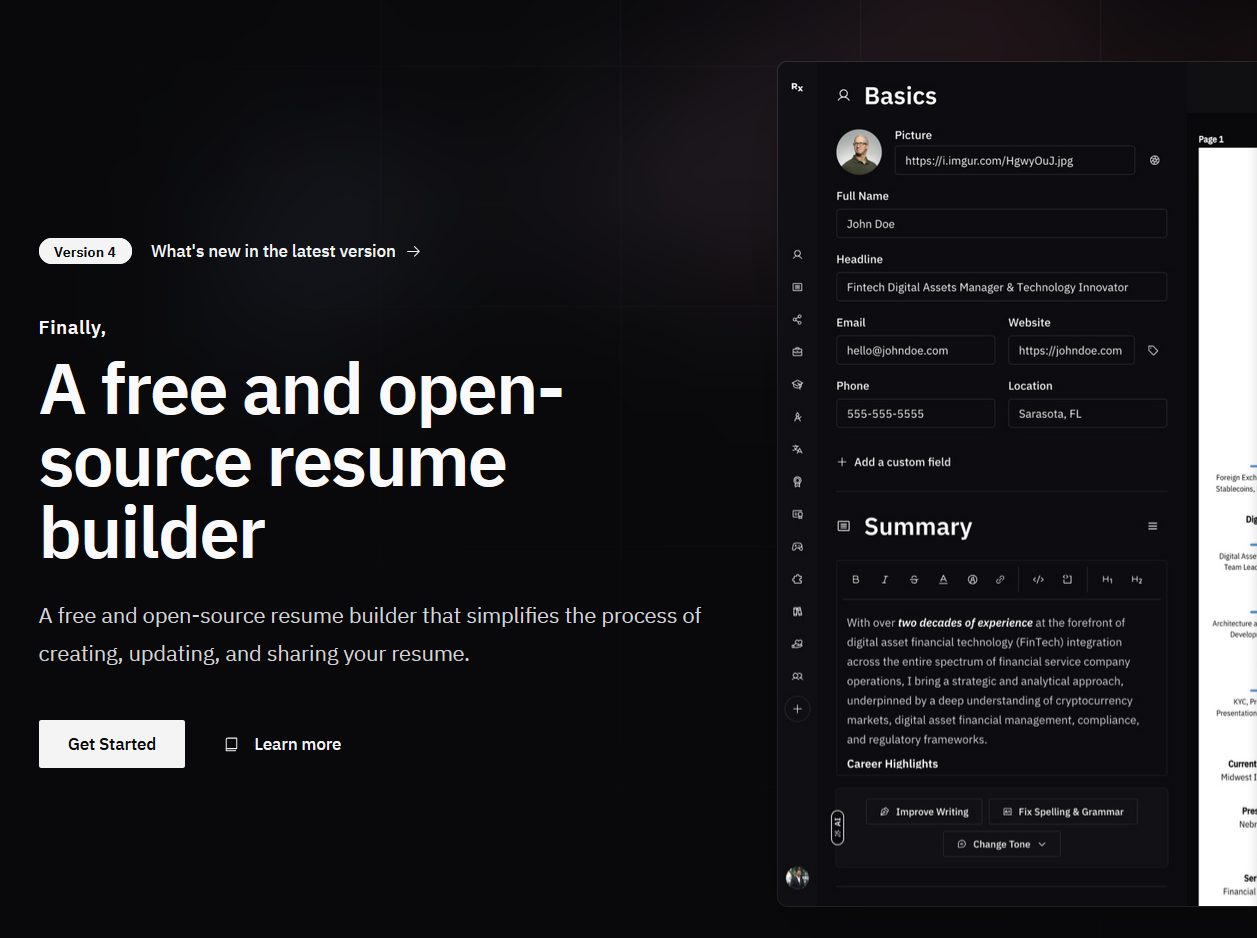
So, somehow I found this app called Reactive Resume, which is a resume builder on Portainer and I thought, might as well give it a try. However, the version on Portainer is outdated so I decided to dig deeper and found a proper way to deploy this Resume builder app, which I’ll show you in this post.
Guide to self-host Reactive Resume#
You can directly go to https://rxresu.me/ to use it. However since this is a self-hosted guide and I like torturing myself, I’ll be setting up Docker on a Debian Virtual Machine running in Proxmox VE. And of course, choose whichever method you prefer to deploy/host it.
Disclaimer#
There’s two versions to know of: v3.8.4 and the newest version v4.x.x. Here’s the differences:
- v3.8.4:
- Still has markdown support (used in Notion, Github, obsidian)
- Less templates
- v4.x.x:
- Changed from markdown > rich text editor
- More templates, more features
- Their official website https://rxresu.me/ uses the latest version
I said in the title that this will be about installing V4 but well… might as well include both versions in case you’ll need it. But for now, the steps to install Docker is the same.
Install Docker#
If you don’t have a Linux virtual machine, I recommend checking out this guide on how to virtualize Debian Server with Proxmox VE or whichever method you can use to get a Linux machine or VM up and working.
Access your computer terminal and SSH to your Linux machine via command:
Use this simple script to install Docker:
1
|
curl -sSL https://get.docker.com | sh
|
Install Reactive Resume V4#
Good ol’ Terminal way#
Check your Linux machine’s IP address using ip a or access your router settings.
Then create a folder named reactive-resume-v4 and make a docker-compose.yml file:
1
2
|
mkdir reactive-resume-v4
touch docker-compose.yml
|
Now run nano docker-compose.yml and paste the below docker compose code in:
1
2
3
4
5
6
7
8
9
10
11
12
13
14
15
16
17
18
19
20
21
22
23
24
25
26
27
28
29
30
31
32
33
34
35
36
37
38
39
40
41
42
43
44
45
46
47
48
49
50
51
52
53
54
55
56
57
58
59
60
61
62
63
64
65
66
67
68
69
70
71
72
73
74
75
76
77
78
79
80
81
82
83
84
85
86
87
88
89
90
91
92
93
94
95
96
97
98
99
100
101
102
103
104
105
106
107
108
109
110
|
version: "3.8"
# In this Docker Compose example, it assumes that you maintain a reverse proxy externally (or chose not to).
# The only two exposed ports here are from minio (:9000) and the app itself (:80).
# If these ports are changed, ensure that the env vars passed to the app are also changed accordingly.
services:
# Database (Postgres)
postgres:
image: postgres:15-alpine
restart: unless-stopped
volumes:
- postgres_data:/var/lib/postgresql/data
environment:
POSTGRES_DB: postgres
POSTGRES_USER: postgres
POSTGRES_PASSWORD: postgres
healthcheck:
test: ["CMD-SHELL", "pg_isready -U postgres -d postgres"]
interval: 10s
timeout: 5s
retries: 5
# Storage (for image uploads)
minio:
image: minio/minio
restart: unless-stopped
command: server /data
ports:
- 9000:9000
volumes:
- minio_data:/data
environment:
MINIO_ROOT_USER: minioadmin
MINIO_ROOT_PASSWORD: minioadmin
# Chrome Browser (for printing and previews)
chrome:
image: browserless/chrome:1.61.0-puppeteer-21.4.1
restart: unless-stopped
environment:
TOKEN: chrome_token
EXIT_ON_HEALTH_FAILURE: true
PRE_REQUEST_HEALTH_CHECK: true
# Redis (for cache & server session management)
redis:
image: redis:alpine
restart: unless-stopped
command: redis-server --requirepass password
app:
image: amruthpillai/reactive-resume:latest
restart: unless-stopped
ports:
- 80:80
depends_on:
- postgres
- minio
- redis
- chrome
environment:
# -- Environment Variables --
PORT: 80
NODE_ENV: production
# -- URLs --
PUBLIC_URL: http://${IP_ADDRESS}
STORAGE_URL: http://${IP_ADDRESS}:9000/default
# -- Printer (Chrome) --
CHROME_TOKEN: chrome_token
CHROME_URL: ws://chrome:3000
# -- Database (Postgres) --
DATABASE_URL: postgresql://postgres:postgres@postgres:5432/postgres
# explain this url postgresql://postgres:postgres@postgres:5432/postgres postgresql://username:password@host:port/database
# -- Auth --
ACCESS_TOKEN_SECRET: access_token_secret
REFRESH_TOKEN_SECRET: refresh_token_secret
# -- Emails --
MAIL_FROM: noreply@localhost
# SMTP_URL: smtp://user:pass@smtp:587 # Optional
# -- Storage (Minio) --
STORAGE_ENDPOINT: minio
STORAGE_PORT: 9000
STORAGE_REGION: us-east-1 # Optional
STORAGE_BUCKET: default
STORAGE_ACCESS_KEY: minioadmin
STORAGE_SECRET_KEY: minioadmin
STORAGE_USE_SSL: false
# -- Cache (Redis) --
REDIS_URL: redis://default:password@redis:6379
GITHUB_CLIENT_ID: github_client_id
GITHUB_CLIENT_SECRET: github_client_secret
GITHUB_CALLBACK_URL: http://${IP_ADDRESS}:3000/api/auth/github/callback
# -- Google (Optional) --
GOOGLE_CLIENT_ID: google_client_id
GOOGLE_CLIENT_SECRET: google_client_secret
GOOGLE_CALLBACK_URL: http://${IP_ADDRESS}:3000/api/auth/google/callback
volumes:
minio_data:
postgres_data:
|
Exit by pressing Ctrl+X > Y > Enter.
Within the folder, create another .env file by running nano .env
Change the address to your actual Linux VM IP address.
Now run docker compose up:
1
|
sudo docker compose up -d
|
Now you should be able to access the web interface of Reactive Resume via your IP address! For example in my case, it’s http://10.0.0.22/.

Congratualtions! You’re now self hosting your own Resume builder app.
The Portainer way#
Install Portainer using the below script:
1
2
3
|
sudo docker volume create portainer_data
sudo docker run -d -p 8000:8000 -p 9443:9443 --name portainer --restart=always -v /var/run/docker.sock:/var/run/docker.sock -v portainer_data:/data portainer/portainer-ce:latest
sudo docker ps
|
Then go to the IP address of your machine with port :9443 using HTTPS and start setting up Portainer. Also, the browser will try warning you but just bypass it. This should come up, now you can start setting up Portainer.

After that, choose getting started. Then go to the local environment and on the left side bar, choose Stacks. Click on Add Stack, then copy paste the Reactive Resume V4 docker compose code from above.
For the environment variables, go below, click on Add an environment variable. Name is IP_ADDRESS and the value is your IP address, in my case 10.0.0.22.
Oh yeah, remember to fill in the stack name too, I always forget to do that xD.
Now click on deploy, wait a bit and now you can access the web interface by entering the machine’s IP address in your browser. Again, in my case, 10.0.0.22.
Install Reactive Resume V3.8.4#
The process is almost identical to V4, except the docker compose file is different.
docker-compose.yml:
1
2
3
4
5
6
7
8
9
10
11
12
13
14
15
16
17
18
19
20
21
22
23
24
25
26
27
28
29
30
31
32
33
34
35
36
37
38
39
40
41
42
43
44
45
46
47
48
49
50
51
52
53
54
55
56
57
|
# Taken from https://noted.lol/reactive-resume with some changes in values for easy value editing through .env for Docker Compose or stack.env for Portainer Stack deploy

# You can also just edit the values directly

version: "3.8"

services:
  postgres:
    image: postgres:alpine
    restart: always
    ports:
      - 5432:5432
    volumes:
      - pgdata:/var/lib/postgresql/data
    healthcheck:
      test: ["CMD-SHELL", "pg_isready -U postgres"]
      start_period: 15s
      interval: 30s
      timeout: 30s
      retries: 3
    environment:
      - POSTGRES_DB=${POSTGRES_DB}
      - POSTGRES_USER=${POSTGRES_USER}
      - POSTGRES_PASSWORD=${POSTGRES_PASSWORD}

  server:
    image: amruthpillai/reactive-resume:server-latest
    restart: always
    ports:
      - 3100:3100
    depends_on:
      - postgres
    environment:
      - PUBLIC_URL=http://${IP_ADDRESS}:3000
      - PUBLIC_SERVER_URL=http://${IP_ADDRESS}:3100
      - POSTGRES_DB=${POSTGRES_DB}
      - POSTGRES_USER=${POSTGRES_USER}
      - POSTGRES_PASSWORD=${POSTGRES_PASSWORD}
      - SECRET_KEY=${SECRET_KEY}
      - POSTGRES_HOST=postgres
      - POSTGRES_PORT=5432
      - JWT_SECRET=${JWT_SECRET}
      - JWT_EXPIRY_TIME=604800

  client:
    image: amruthpillai/reactive-resume:client-latest
    restart: always
    ports:
      - 3000:3000
    depends_on:
      - server
    environment:
      - PUBLIC_URL=http://${IP_ADDRESS}:3000
      - PUBLIC_SERVER_URL=http://${IP_ADDRESS}:3100

volumes:
  pgdata:
|
.env:
1
2
3
4
5
6
|
IP_ADDRESS=0.0.0.22
POSTGRES_DB=postgres
POSTGRES_USER=postgres
POSTGRES_PASSWORD=postgres
SECRET_KEY=change-me-to-something-secure
JWT_SECRET=change-me-to-something-secure
|
If you’re using Portainer, click on Advanced mode to paste the .env variables.
Go to port :3000 and you should be able to use Reactive Resume v3 right away.
Conclusion#
Well… You’ve successfully installed and hosted your own resume builder! Get a feel, play around a bit and you’ll be able to create a beautiful resume without having to worry too much about formatting it and just focus on the content itself. Thank you for reading and have a nice day!
PS: If you want some resume examples, feel free to email me!